MyDigitalSSD M2X M.2 NVMe SSD Enclosure Review - A PCIe to USB Storage Bridge
by Ganesh T S on October 31, 2018 8:00 AM EST- Posted in
- Storage
- SSDs
- USB 3.1
- NVMe
- Type-C
- Storage Bridge
- External SSDs

Storage bridges come in many varieties within the internal and external market segments. USB has become the de-facto standard when it comes to external mass-market storage enclosures. But while there are plenty of options to bridge SATA devices in different form factors to USB, the rapid rise in popularity of NVMe drives has brought about a different challenge. In the premium market, we have many Thunderbolt 3 external SSDs with M.2 NVMe drives inside. However for various reasons, the development of NVMe-to-USB adapters has been another matter.
In fact it's only recently that we've finally seen some progress on this front. JMicron's introduction of a PCIe 3.0 x2 to USB 3.1 Gen 2 bridge chip (JMS583) has enabled Asian OEMs to introduce bus-powered NVMe SSD enclosures with a USB interface, finally enabling relatively cheap USB adapters for NVMe drives. MyDigitalSSD, in turn, is one of the first to bring such a device to the North American market with their M2X External USB 3.1 Gen 2 M.2 NVMe PCIe SSD Enclosure Adapter.
Introduction
The external storage bridges that we have evaluated so far have usually had one or more SATA ports. The most popular uplink port is some sort of USB connection. eSATA as an uplink interface is on the way out. High-end products have Thunderbolt support. The introduction of PCIe to USB bridge chips such as the JMicron JMS583 and the ASMedia ASM2362 have now brought M.2 PCIe slots as a downstream option.
Today's review will take a detailed look at the MyDigitalSSD M2X external USB 3.1 Gen 2 M.2 NVMe PCIe SSD enclosure adapter, an interesting product with a mouthful of a name that's based based on the JMicron JMS583 bridge chip.
In order to ensure compatibility across a wide variety of systems, consumers need to keep the following aspects in mind for M.2 NVMe to USB enclosures and SSDs used inside them:
- Support for UASP (USB-attached SCSI protocol) for better performance (reduced protocol overhead and support for making optimal use of the NVMe command set)
- Support for TRIM to ensure SSDs in the external enclosure can operate optimally in the long run
- Support for S.M.A.R.T passthrough to enable monitoring of the internal NVMe device by the host OS
- Ability of the chosen SSD to expose an active power state that doesn't exceed 4.5W after adding the bridge chip's power consumption into account
The table below presents the detailed specifications and miscellaneous aspects of the various storage bridges we have evaluated so far and how they compare.
| Comparative Storage Bridges Configurations | ||
| Aspect | ||
| Downstream Port | 1x PCIe 3.0 x2 (M.2 NVMe) | 1x SATA III (mSATA) |
| Upstream Port | USB 3.1 Gen 2 Type-C | USB 3.1 Gen 2 Type-C |
| Bridge Chip | JMicron JMS583 | ASMedia ASM1351 |
| Power | Bus Powered | Bus Powered |
| Use Case | M.2 2242 / 2260 / 2280 NVMe SSD Enclosure DIY high-performance, compact, and sturdy portable SSD with a USB flash drive-like form-factor |
mSATA SSD Enclosure DIY high-performance, compact, and sturdy portable SSD with a USB flash drive-like form-factor |
| Physical Dimensions | 99 mm x 42 mm x 13 mm | 73 mm x 38 mm x 9.5 mm |
| Weight (diskless) | 48 grams (without cable) | 60 grams (with Type-C to Type-C cable) |
| Cable | 29.7 cm USB 3.1 Gen 2 Type-C to Type-C 29.7 cm USB 3.1 Gen 2 Type-C to Type-A |
12.7 cm USB 3.1 Gen 2 Type-C to Type-C 11.4 cm USB 3.1 Gen 2 Type-C to Type-A |
| S.M.A.R.T Passthrough | Yes | Yes |
| UASP Support | Yes | Yes |
| TRIM Passthrough | Yes | Yes |
| Price | USD 40 | GBP 50 |
| Review Link | MyDigitalSSD M2X Review | Axtremex Micro SSD Gen2 Review |
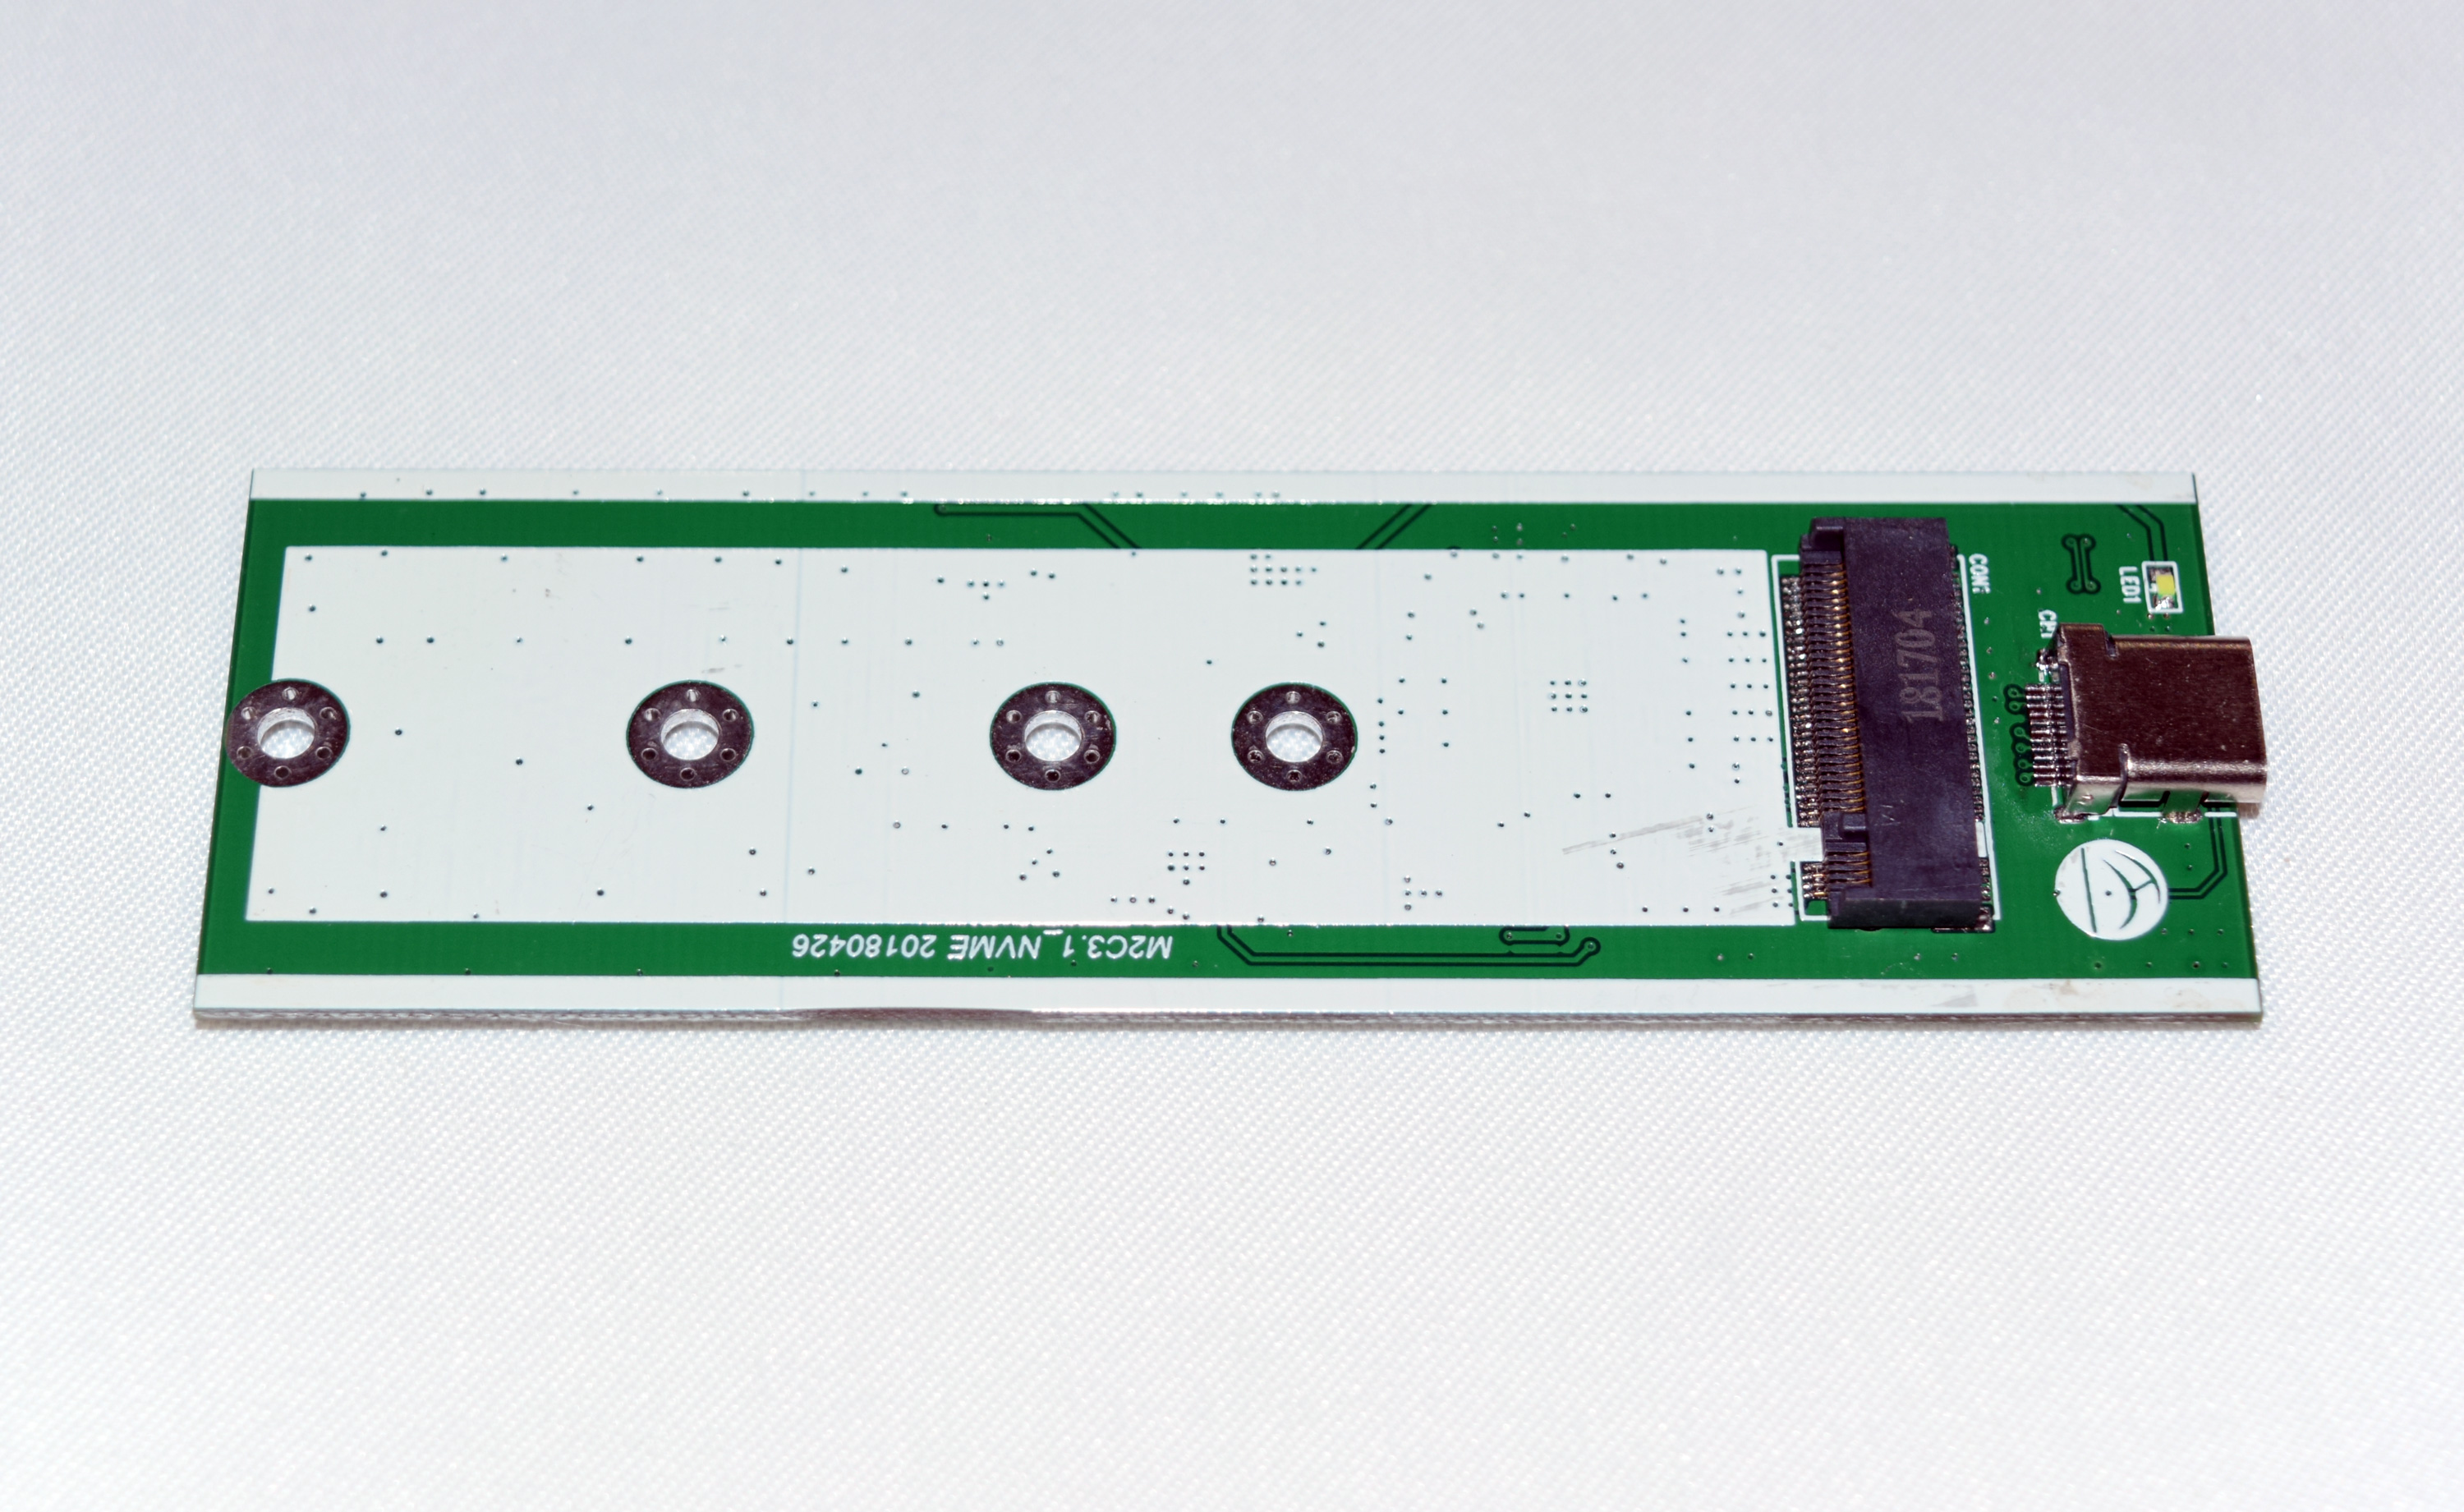
The gallery below shows the components of the package as well as teardown pictures of the enclosure. A tep-by-step pictorial guide is provided for the installation of the SSD in the enclosure. A thermal pad that rests against the inside of the grooved side of the enclosure suggests that the thermal performance of the enclosure should be satisfactory. We will be taking a look at that aspect further down in this review.


While easily faster than a SATA III-based enclosure, the performance of the M2X enclosure is none the less capped by two aspects. On the downstream side, the bridge chip only has a PCIe 3.0 x2 link, whereas most NVMe SSDs have an x4 interface (the widest allowed by M.2). This doesn't pose a compatibility problem since M.2 drives can negotiate down just fine, however it does cap their SSD-to-bridge throughput at just under 2GB/sec. .
On the upstream side, the USB 3.1 Gen 2 interface has its own limitations, as it tops out at 10 Gbps. And considering the associated overhead, a practical expectation is around 8 Gbps. This means that a any USB 3.1 enclosure is going to operate at a fraction of a high-end SSD's performance – peaking at around 1GB/sec – though unless you have a high-end NVMe SSD just lying around to begin with, it's going to make a lot more sense to install a cheap x2 SSD instead. The flip side to this being that you do need a reasonably well performing SSD to make good use of such an enclosure, as low-end NVMe drives may struggle to saturate even the limited bandwidth of this kind of enclosure.
Keeping these aspects in mind, we opted to install the 1TB version of the MyDigitalSSD SBX PCIe 3.0 x2 M.2 NVMe SSD in the M2X. This drive should be fast enough to reveal the full capabilities of the bridge chip / enclosure without being held back by too much.


39 Comments
View All Comments
RoC_17 - Wednesday, October 31, 2018 - link
Thanks for this review, a niche category which I had my eyes upon for a while.Still, I would prefer to have an alternative mounting mechanism for the SSD inside the enclosure for better thermal handling.
Sliding in means that attaching thermal pads is not possible, but thermals surely would benefit from that. Why not have a top cover with 4 low profile screws for exactly that reason?
woggs - Wednesday, October 31, 2018 - link
Bingo. I bought one but really need to ensure a solid thermal connection from the controller on the drive to the case or it will overheat. I ended up not using the case that came with it and bought a separate M.2 heatsink kit with proper thermal adhesive to make solid contact to the asic on the drive. Now it works great.woggs - Wednesday, October 31, 2018 - link
To be clear, I tried the original case and the drive hung (thermal shut down) during sustained writes....Clarkage - Wednesday, October 31, 2018 - link
The instructions show a thermal pad that's to be installed on top of the drive before sliding it in. Did your case have this / did you use it ? I'm certainly not convinced that's it's sufficient heat sinking but was curious about your particular situation.Also, what drive was it? [just curious]
woggs - Wednesday, October 31, 2018 - link
Well crap. I did not get one (or I've forgotten already).weevilone - Thursday, November 1, 2018 - link
Mine came with the thermal interface, but it was so sticky that I couldn't slide the enclosure over the drive with the material in place.weevilone - Thursday, November 1, 2018 - link
Can you share what you wound up using? I sent mine back after failing to get the included thermal interface to work with the sliding case.jabber - Wednesday, October 31, 2018 - link
I need to get one of this type of adapter for testing and build cloning. Currently having to use a PCI-e card and it's a pain.Mikewind Dale - Wednesday, October 31, 2018 - link
What excites me is that now I can easily clone my laptop's NVMe SSD to a new one before upgrading the SSD, without having to do a bunch of workarounds (like finding a desktop with multiple M.2, or cloning to SATA as a middleman).SonnyCrockett84 - Thursday, November 1, 2018 - link
Which is exactly what I did with my Dell XPS 15 9575 2in1, went from a 256 to a 512. I bought mine from Aliexpress on September 13th, though, 32 bucks, from JEYI, took a couple of weeks to get here, no biggie. Here's the link https://www.aliexpress.com/item/-/32874418125.html